
Creating and assigning Docket Selectors, and conducting a Docket Selector Audit
Docket Selectors can be assigned to items in order to separate the menu according to how they will print. Once the docket printers have been configured, Docket Selectors are responsible for determining where a product prints. For example, all beverages might print to the bar, and will therefore have a "Bar" Docket Selector.
Create a Docket Selector
-
Select Dockets and Printing > Docket Selectors
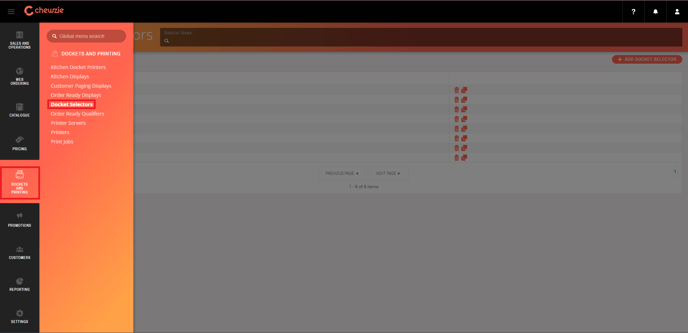
2. Select "+ Add Docket Selector" in the top right hand corner and name your Docket Selector.
Assign Docket Selector
-
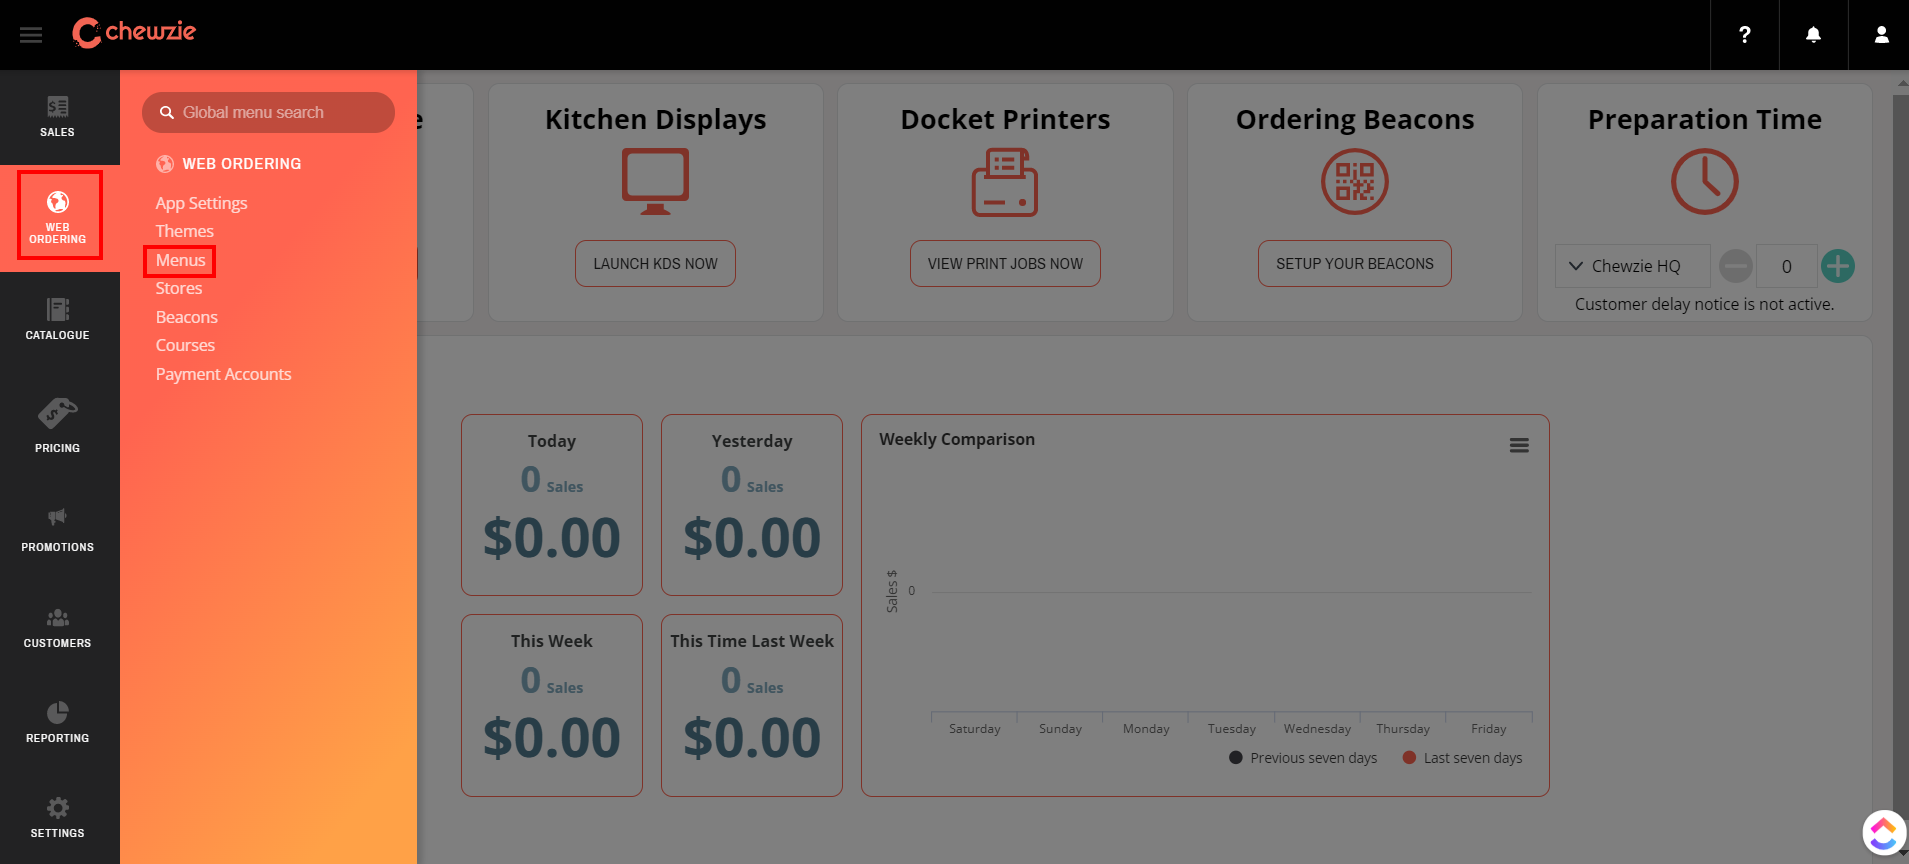
Select Web Ordering > Menus and open your menu.
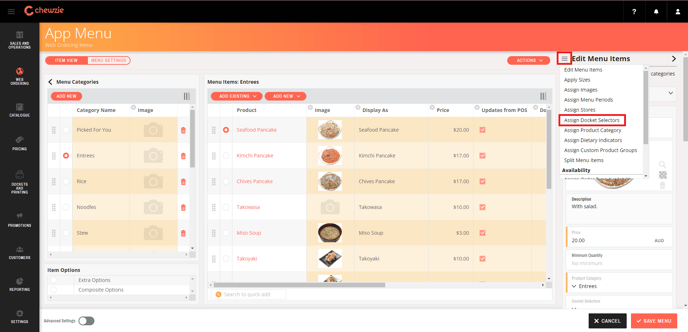
2. Click the icon next to "Edit Menu Items" in the top right hand corner to open the options menu and click "Assign Docket Selectors".
3. Select the items you wish to assign the Docket Selector to and choose the Docket Selector from the drop down menu on the right hand side.
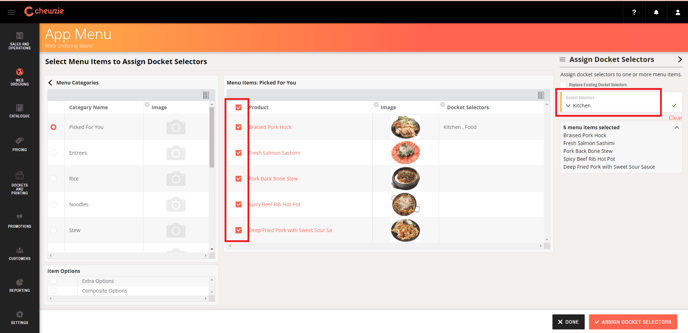
4. Click the "Assign Docket Selectors" button in the bottom right hand corner and save your menu.
Docket Selector Audit
Products without an assigned Docket Selector will not be printed unless you configure a docket printer to select items with the "Default" selector.
In order to check if any items have been left without a specific selector, you can complete a Docket Selector Audit. This can be done by opening Reporting > Product Reports > Docket Selector Audit, selecting the "Default" selector from the drop down menu and clicking the Generate Report button in the bottom right hand corner.
If there are items without a selector, a pdf will be downloaded listing those items. If not, a message will appear saying "the report has no pages".
Did this answer your question?