To create menu with submenus, the menus are built individually and then included to the main menu as submenus.
- Login to Chewzie back office, navigate to Web ordering > Menus > Create a Food menu with necessary categories/sub categories and items.
- Create another menu with categories and items that do not change frequently and use this a main menu.
- To add a submenu, edit a menu being used as main menu, enable 'Advanced Settings', click on 'SUBMENUS' option

- Select 'Add Existing' option and select the menu created in step2 and save menu
- When a submenu is merged with main menu the categories are always appended at the end of the main menu category list if there is no matching category present on the main menu.
- A place holder category for (eg. 'Food' ) can be create in the main menu without any items. This ensures the order in which the categories/items from the submenu merges into the main menu when displaying in the app menu.
- Categories in the submenu can be created as subcategories to ensure they are displayed in desired order in the app menu.
- If a category/sub-category exists in the main menu then the items from the corresponding category/sub-category are appended at the end of main menu items.
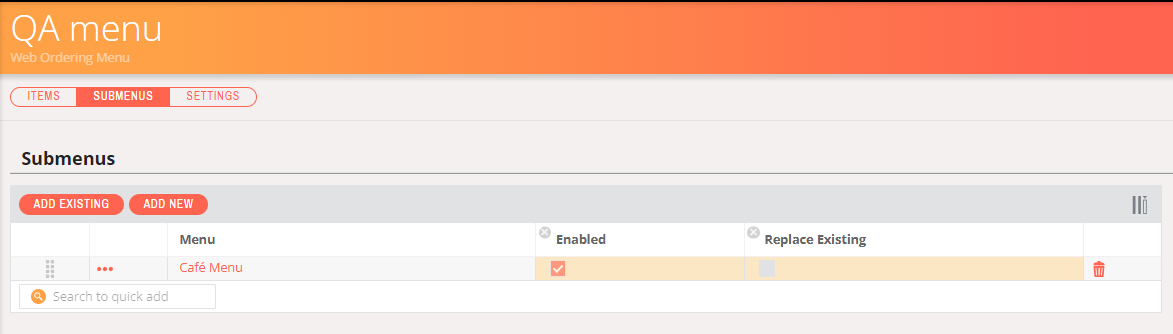
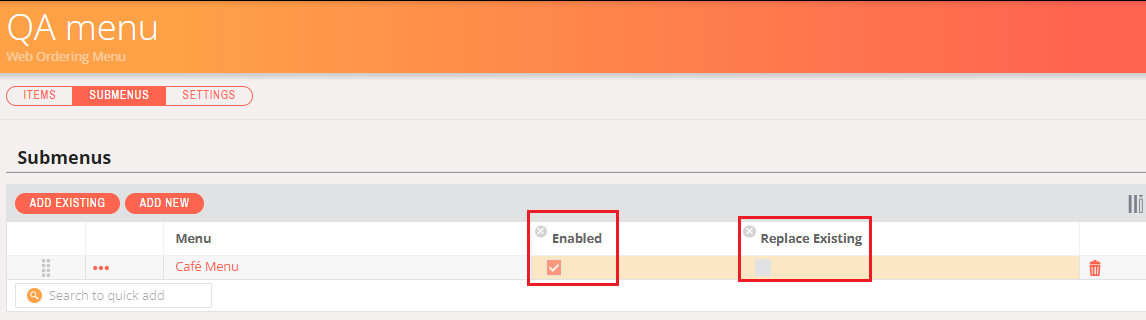
- Rules can be configured to control how the sub menu is merged into the main menu. 'Enabled' flag when set to true merges the submenu with main menu and displays the submenu categories/items in the app menu. Disabling this flag prevents merging of the submenu and the submenu categories/items are not displayed in the app menu
- 'Replace Existing' flag when set to true replaces the same menu items present in main menu with items from sub menu. When disabled the main menu item is retained and submenu item is ignored.
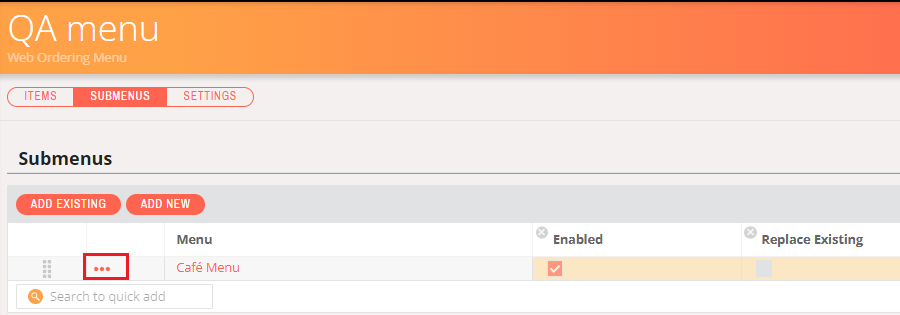
- Category merging rules can also be configured based on the item merging strategy. To configure the item matching strategy open the 'Edit Submenu' pop-up by clicking on the edit icon against the sub menu
- Click on the 'Item Matching Strategy' and select the desired option.
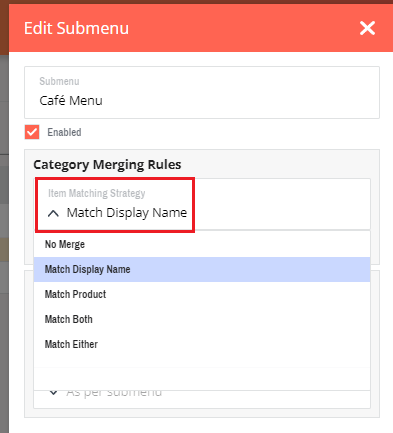
- 'Match Display Name' option merges the items with similar display name in main menu and submenu. If there are different products with similar display name in main menu and submenu then the product displayed on the app menu is based on the 'Replace Existing' configuration (Step10). If the same product with different display names are present in both main menu and submenu then both products are displayed in the app menu.
- 'Match Product' option merges the same products in main menu and submenu and if the same product has different image or display name on either of the menu, the 'Replace Existing' configuration decides how the product is displayed in the app menu.
- 'Match Both' option merges the items only when same product with same display name is present in both main menu and submenu. If either of them are different in main and submenu then both the items are displayed in the app menu.
- 'Match Either' option merges items when either product or display name matches for an item when the item is present in both main menu and submenu. When different products with same display name is present in both main menu and sub menu then only one product is displayed in app menu depending on 'Replace Existing' flag configuration. If same product with different display name is present in main menu and submenu then only one product is displayed in the app menu based on the 'Replace Existing' flag configuration.